
# ClickUp
ClickUp is a project management tool with task assignments statuses, alerts and so much more. It is possible the best tool in the market right now and because of that is our favorite.
In summary:
- Start your day checking your notifications.
- Use inbox to organize your tasks, always be aware of unschedule.
- Remember to change maintain the status up to date.
- And add the time spent at the end of each day.
# Workflow
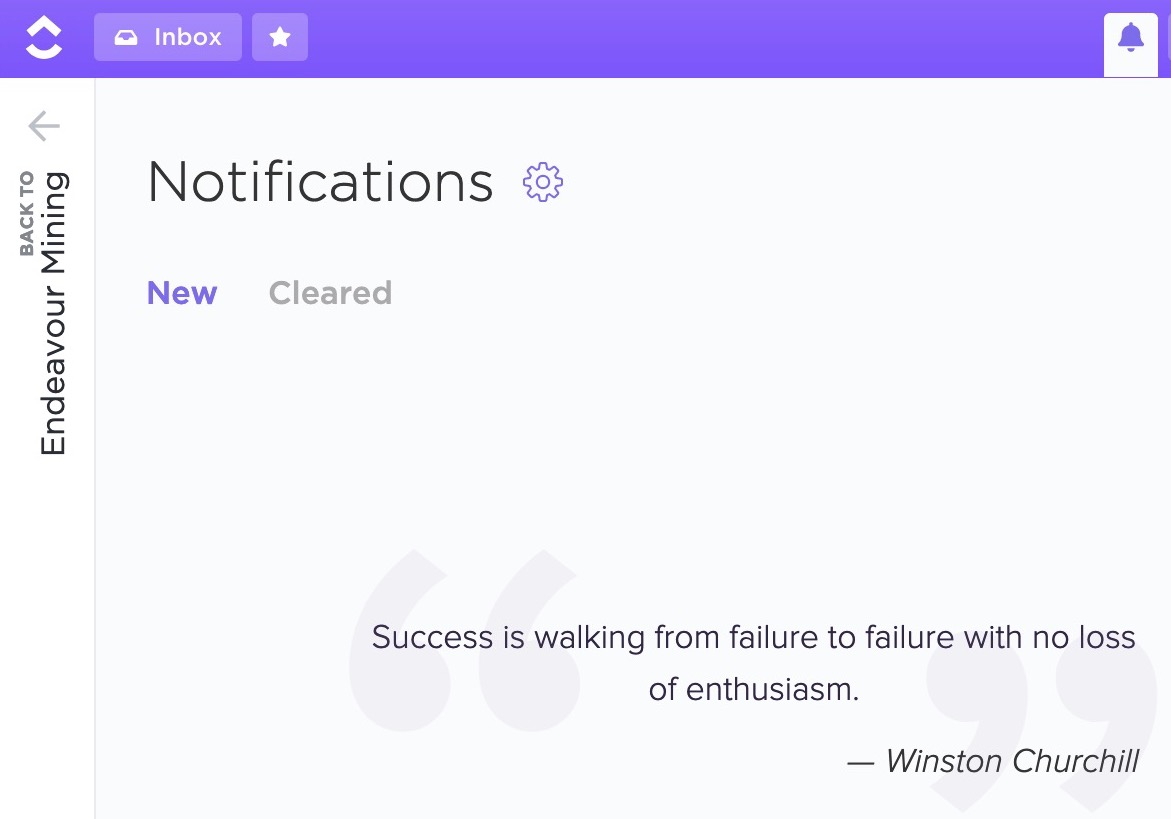
# 1. Check and clear Notifications
To be up to date with project progress including mentions directed to you and activity in the tasks you're involved.
# 2. Check Inbox to pick your task
Everyday new tasks may arrive, changes in priorities can take place. Check out the tasks assigned to you and pick the right one to begin.
# 3. Remember to change status
- When you begin working on a task, you probably have it in PENDING state you should move it to IN PROGRESS(you should have 1-2 tasks on this status, Focus in 1 tasks at time)
- When you finish working on a tasks, you should update the status from IN PROGRESS to COMPLETED
# 4. Breakdown your tasks into subtasks or checklist and update them
With the purpose of reflecting progress, it’s required that you breakdown your tasks into small pieces. Plus, it explains what the task is about. There could be days when you don’t complete a task, but for sure you will complete subtasks or checklist that makes progress

# 5. Remember to use Time Tracking
Pick your choice: 2 clicks if you use the timer, or a bit more if you do it manually.
# Inbox
Is the place to manage the tasks assigned to you. They are distributed into different sections with the purpose of avoid clutter and giving you a global overview. Also giving you options to change its status The main goal of Inbox is: never forget again.
# How to Access Inbox
From anywhere in ClickUp, you'll be able to access the Inbox via the button in the upper left corner of your screen.

# Working in Inbox
More information in ClickUp Official Documentation

# Tasks
# Search Tasks

- Click on the search bar in the upper right corner Alternatively: Press
son your keyboard - Choose to see results for tasks, Docs, Conversations, attached files, or all of the above
- Type in a keyword!
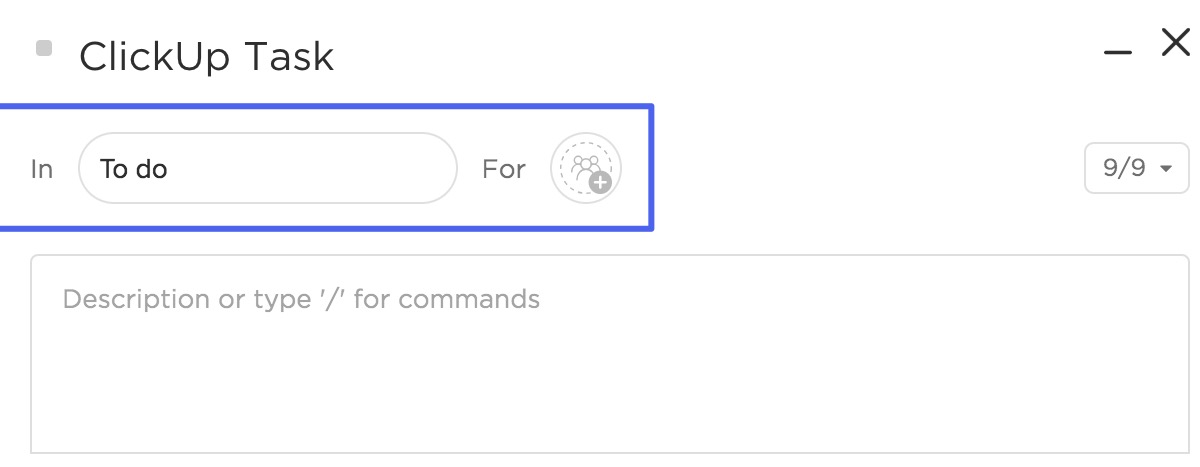
# Create a task
Just click the rainbow + button in the lower right corner of your screen (shortcut: t) to get started:
# Mandatory/Required properties
- Select the Space, List, and Folder that your task will be located in by clicking on the drop-down menu below the task title. - Optionally, save time by choosing the List from your saved Favorites or even create a new Favorite from this menu
- Give your task a name
# Optional properties

- Click the status box to view a dropdown of your Status options. If you do not select a status, your task will simply remain in the Open status
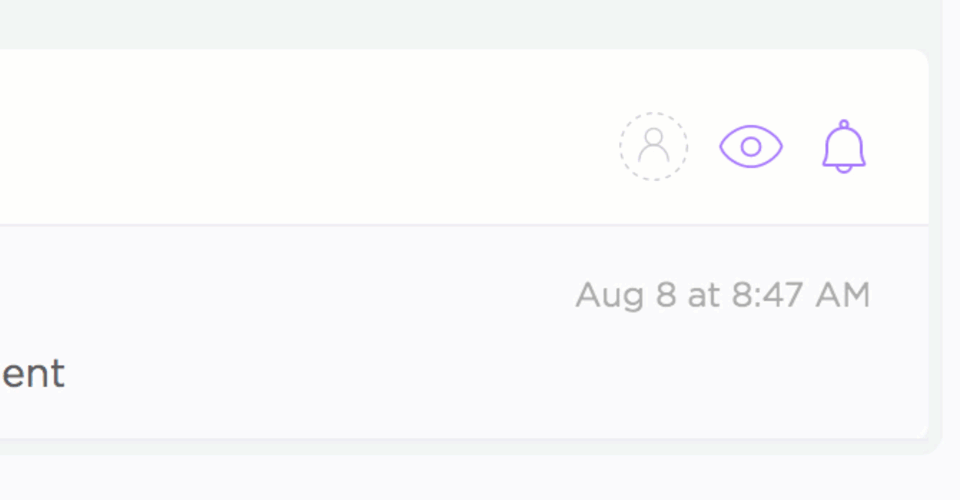
- Select the circular profile icon to add assignees to your task. You can also change or remove assignees by clicking on this icon
- Add watchers to your task by selecting the eye icon on the bottom. Watchers are not assigned to the task, but will be notified of any and all changes within the task
- Click on the calendar icon to add a due date to your task.
- Clicking the hourglass symbol will allow you to set a time estimate for your task
- Add a task description in the text box, and take advantage of rich text editing options
- Click Add Subtask to include smaller action items you'll need to complete within the task
- Click Add Checklist to start up a new checklist for this task or add one from a template
- Drag-and-drop or add attachments directly at the bottom of your task. You'll have the ability to rename, view fullscreen, download, delete, or sort any attachment you add
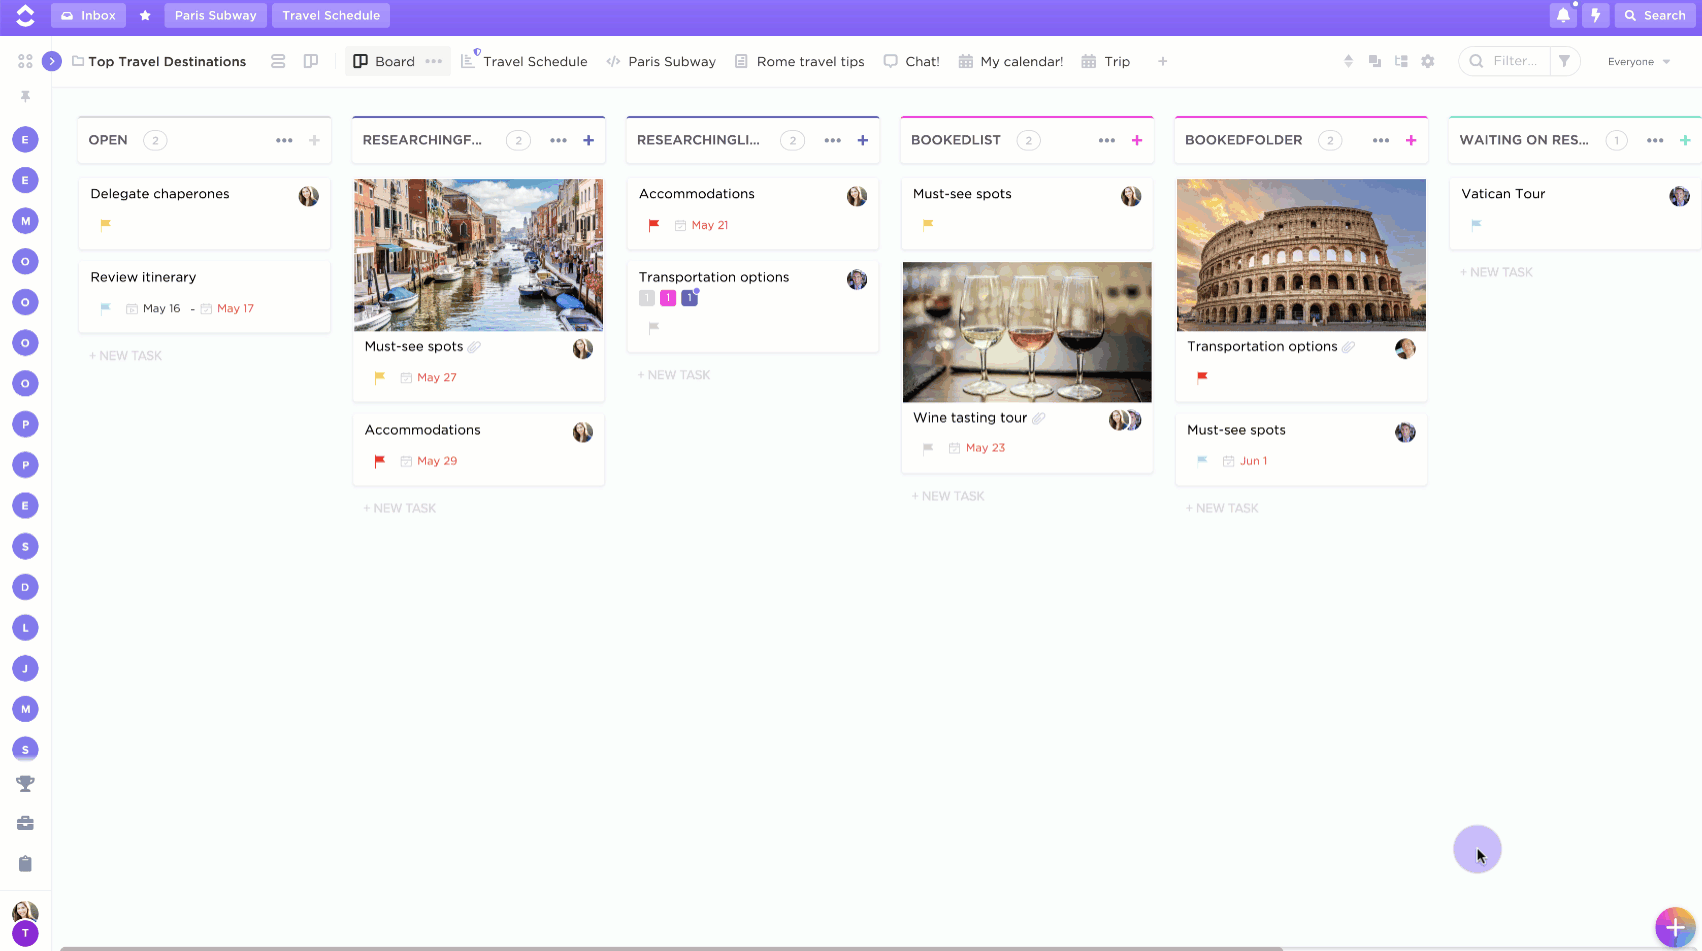
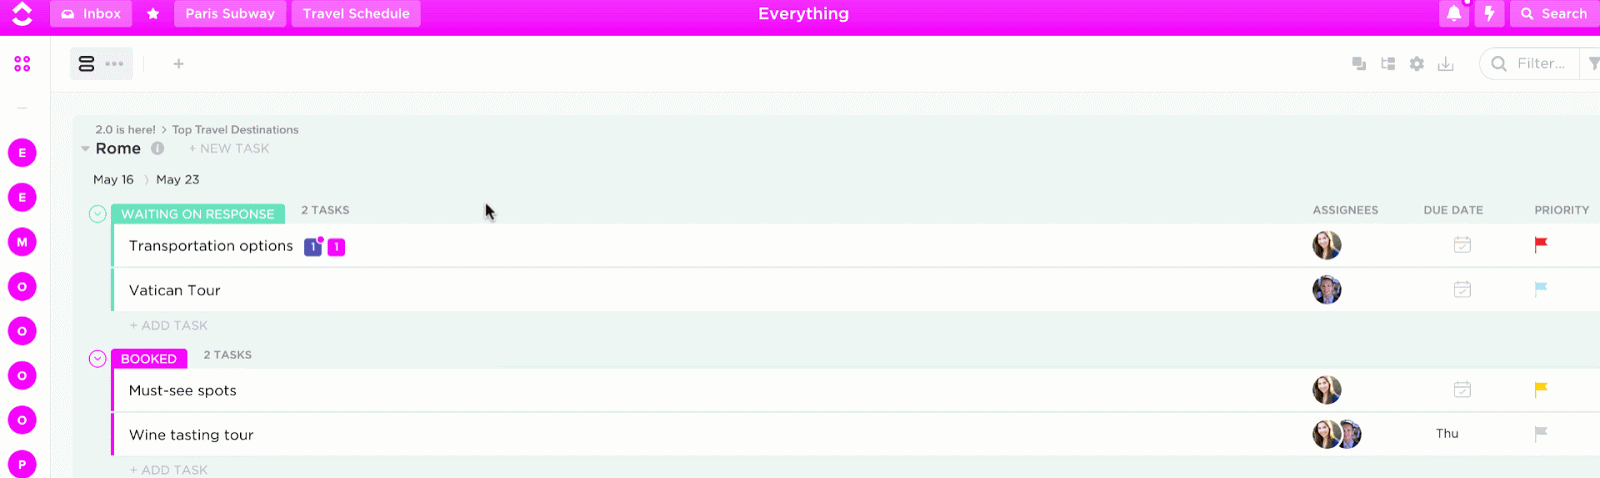
# Task Views
These are different ways of viewing your tasks. What's new about that? In ClickUp 2.0, each view is so customizable, you'll want to save a version of the layout you've set up. With new task groupings, sorting options, and fine-tuned filters, you get to see exactly what you want in a whole new way. Also in 2.0, you start with just List view to keep things simple. If you want more views, just add them! You can name views, drag and drop them, set them as defaults, and even protect them so no one makes unwanted changes!
# List View
- Group your tasks by status (this used to be your only option), assignee, priority, tag, or due date and choose the order of these groups.
- Show all subtasks under their parents, by themselves, or just keep them hidden. No more sorting and filtering to see subtasks.
- Add calculations to your columns. Have a column of time estimates? ClickUp will tell you the sum, average, or range of all estimated time in that column.
- Drag and drop columns to re-order your List View.
- Export all tasks in List View or just the ones you've filtered for. We even let you choose the date format in the export file.
# Board View
- Group your tasks by status (this used to be your only option), assignee, priority, tag, or due date and choose the order of these groups.
- Show all subtasks under their parents, by themselves, or just keep them hidden. No more sorting and filtering to see subtasks.
- Show Custom Fields on tasks.
# Calendar View
- Set up a view so that you always come back to the same date. Perfect for planning a conference in the future.
# Gantt View
- Gantt View is now built around the location you add the view in the hierarchy. This is great when you want to see a gantt for a specific Folder or List.
# Subtasks
Subtasks add an additional layer to your structure, allowing you to define more detailed goals inside of your tasks. As with normal tasks, you can add layers of information to subtasks such as assignees, due dates and priorities.
Examples uses for Subtasks
- Create a task called "Edit onboarding docs" with subtasks for each doc
- Create a task called "Build a website" with subtasks for each component of the build
# Checklists
In comparison with subtasks, if all you need is a really simple way to organize to-dos for a task?! That's where our checklists come in! Checklists are simple items are either done or not done, and, they can have a single assignee.

# Status
The status helps to keep an efficient workflow.
# 🗂️ Backlog / Open
Initial state when the tasks is being defined By Project manager mostly
# 📌 To do / Pending
The project manager uses this label to let know to the assigned person that this is a to-do task
# ⏳ Doing / In Progress
The assigned person use this label to let know to the team that is working on it
# 🧪 Ready for test / Completed
The assigned person use this label to indicate the work is done and ready to be reviewed (QA process)
# 👩🔬 In review
The supervisor/tester/project manager use this label to indicate that is working on review the task (accept or reject)
# ✅ Accepted
The supervisor/tester/project manager use this task to approve the task and indicate that passed the QA process. In case of development tasks, this label indicates is ready to pass to production.
# 🚫 Rejected
The supervisor/tester/project manager use this task to reject the task and indicate that not passed the QA process. The assigned person must solve the issues/problems found.
# 🚨 Blocked
The assigned person use this label to indicate can’t work on this task for some reason.
# 🏁 Done / Closed
It’s used to indicate the task was deployed or totally completed
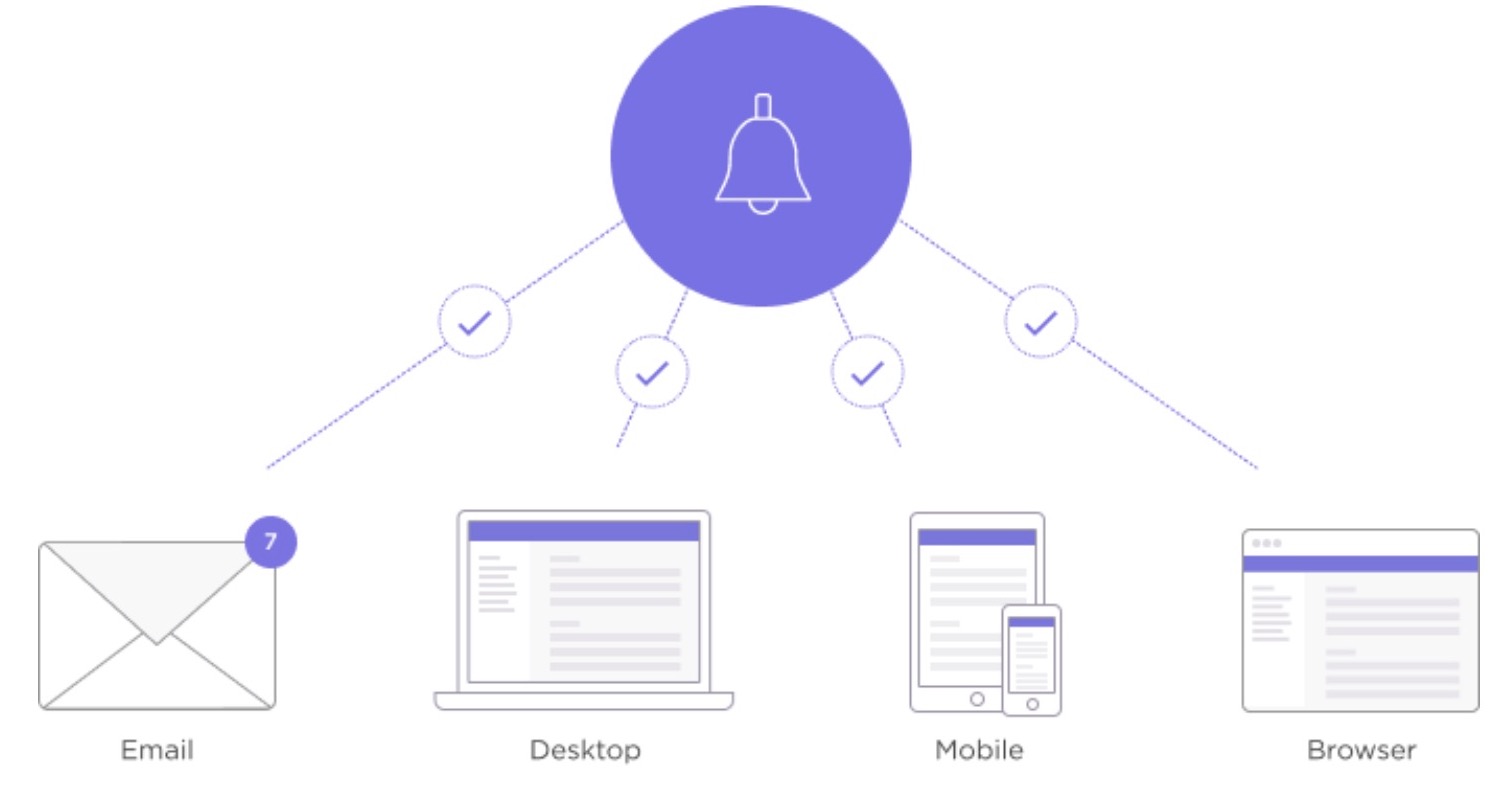
# Notifications
Notifications is the best place to be up to date with project progress.
# Clear notifications
To clear notifications, click the bell icon on the right side of a notification. It's important to check in-app notifications each day in order to stay organized and let your teammates know you're on top of your work. You should have your notifications cleared everyday.
# Watch (or stop watching) tasks
If you're getting annoyed with notifications about a certain task, click the 'Eye' icon to stop watching a task. You'll no longer receive notifications for that task. Alternatively, you also can start watching a task by clicking the 'Eye' icon from its gray color state.
# Time Tracking integrated
This is required so we centralize the time tracking with the actual estimates and rest of platform in CU. Time can be added manually, which can be hassling. But there is also a chrome extension, you can use the timer which you can just start and stop.
← Asana